Application guide
Applying & removing your press-ons
A successful application starts with good prep. Here is the included kit, the step-by-step method to prepare your nails, a video from Pam, and how to remove your press-ons to reuse them.
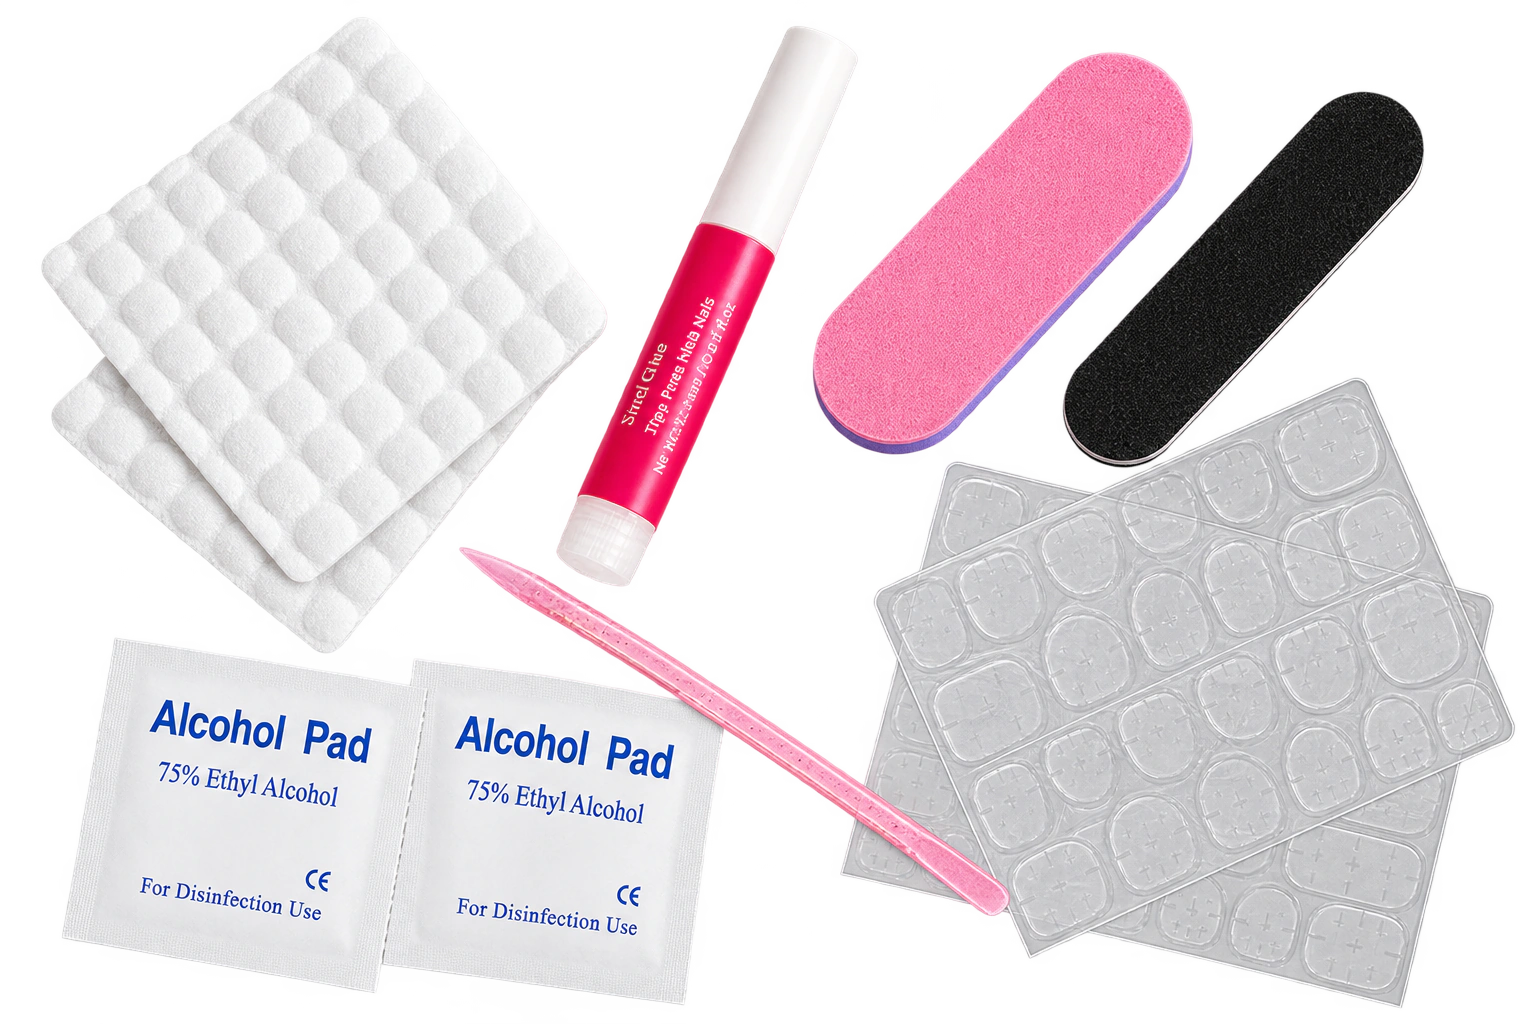
The included application kit
Every order ships with everything you need for a clean application at home, nothing else to buy.
- Nail glue
- 2 adhesive tab sheets
- Small nail file
- Small sanding block
- Cuticle pusher stick
- Degreasing wipe
Prepping your nails yourself
Five minutes of prep for noticeably longer wear.
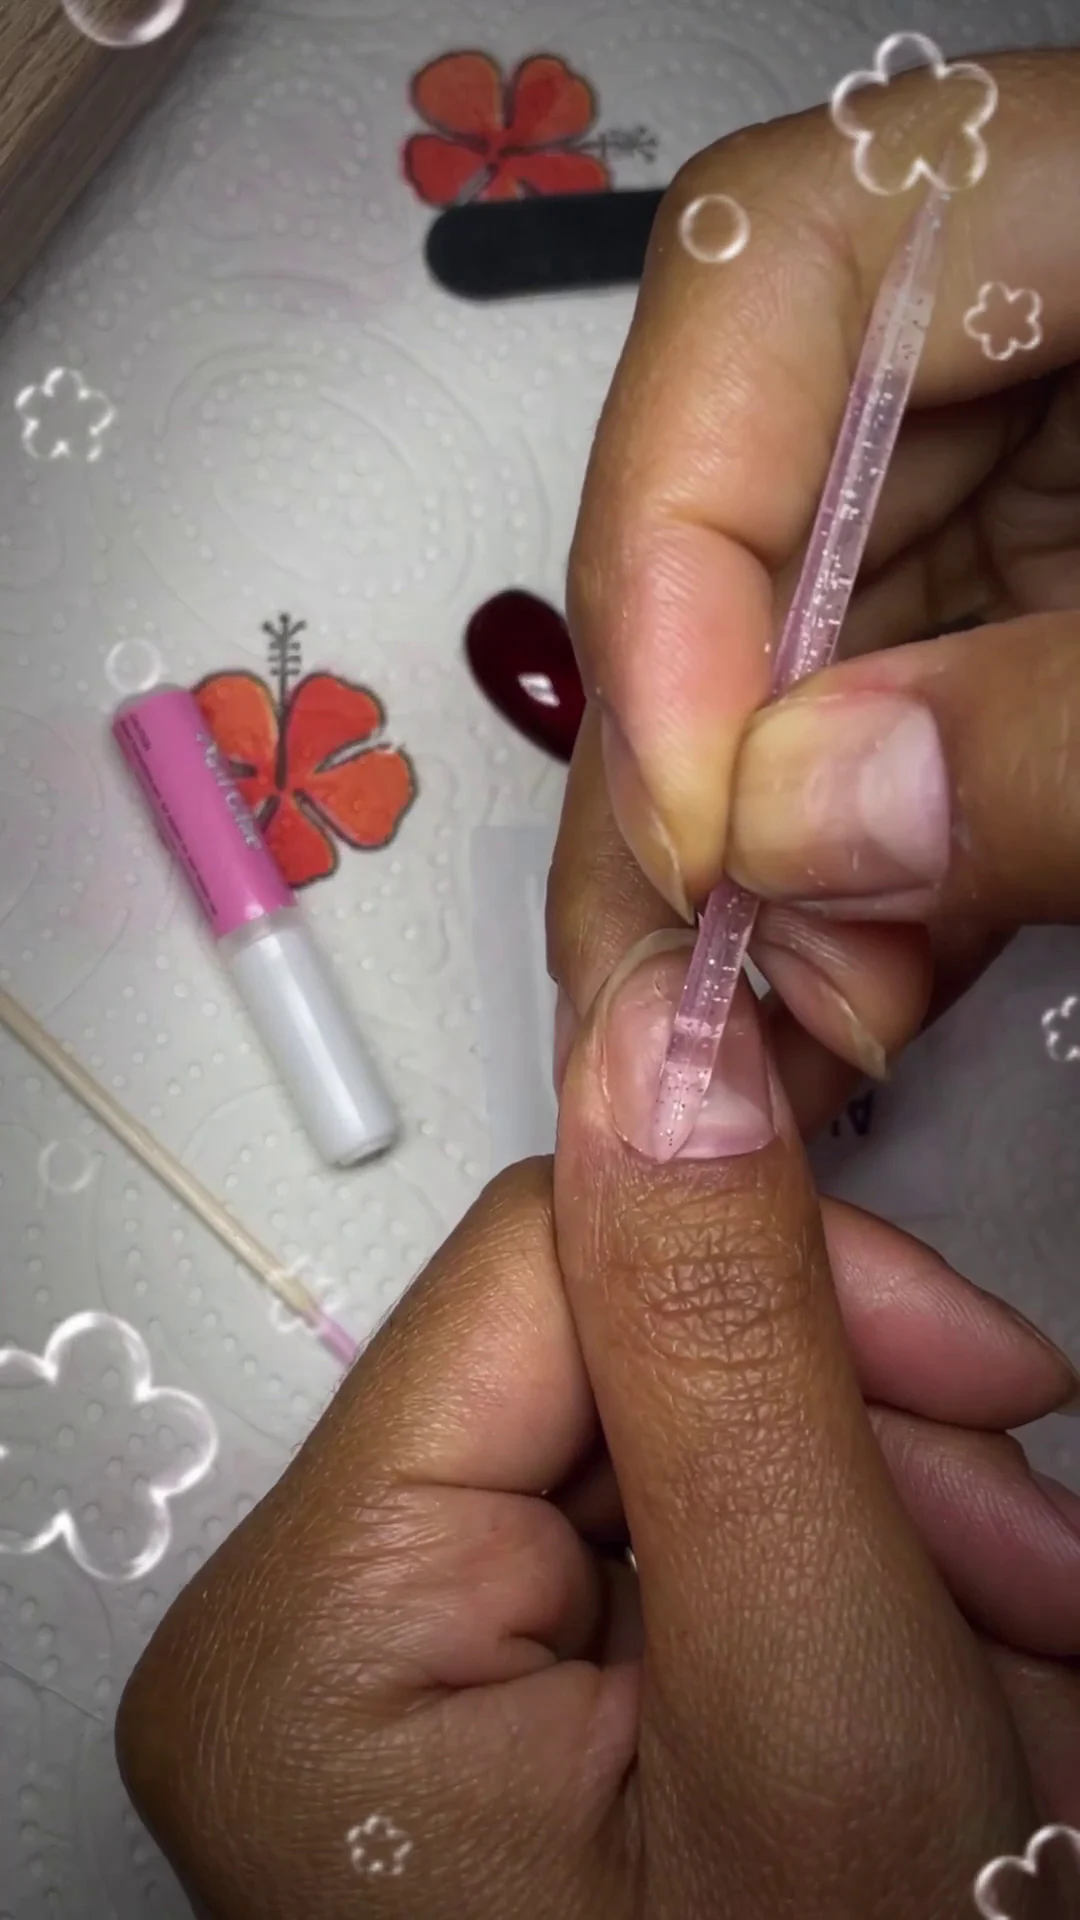
1 - Clean
Wash your hands, remove any polish and gently push back the cuticles.
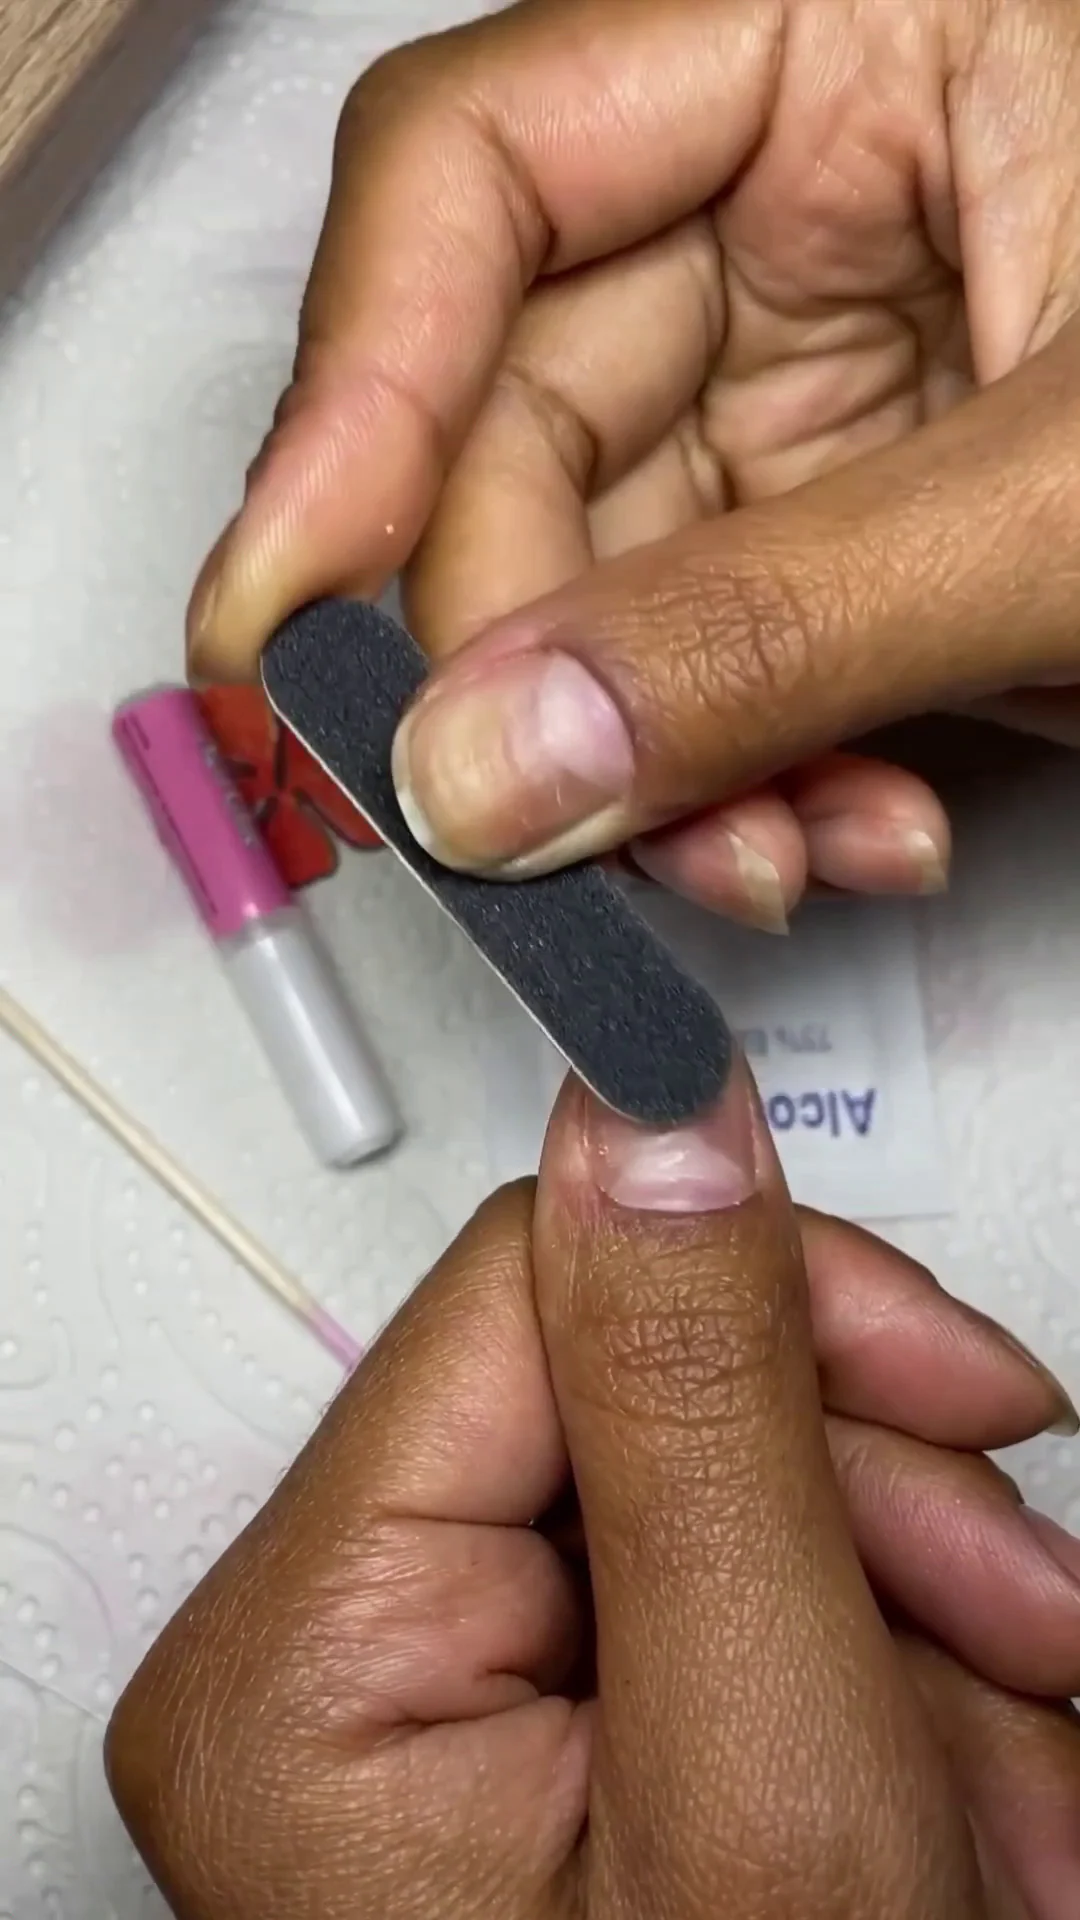
2 - File & matte
File the length if needed, then lightly buff the nail surface so the tip grips.
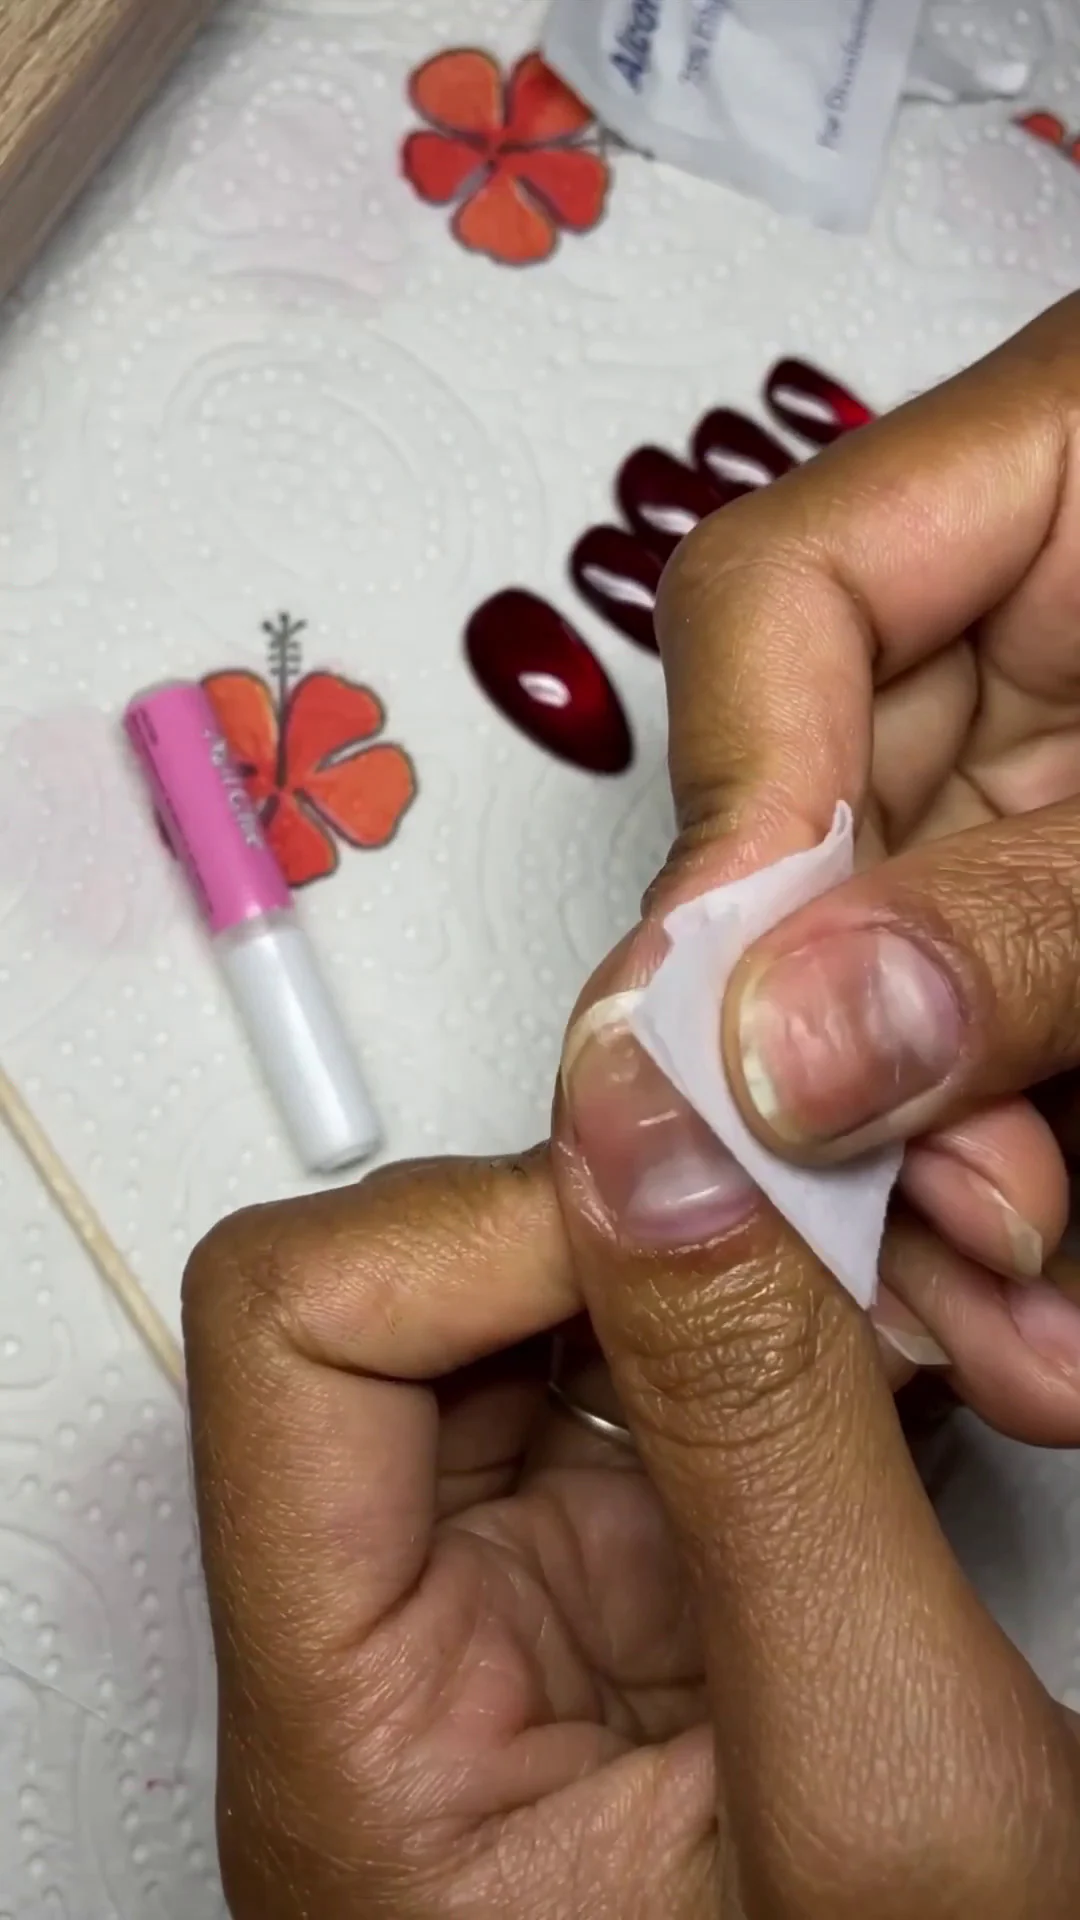
3 - Degrease
Wipe each nail with the degreasing wipe and let it dry, no cream or oil afterwards.
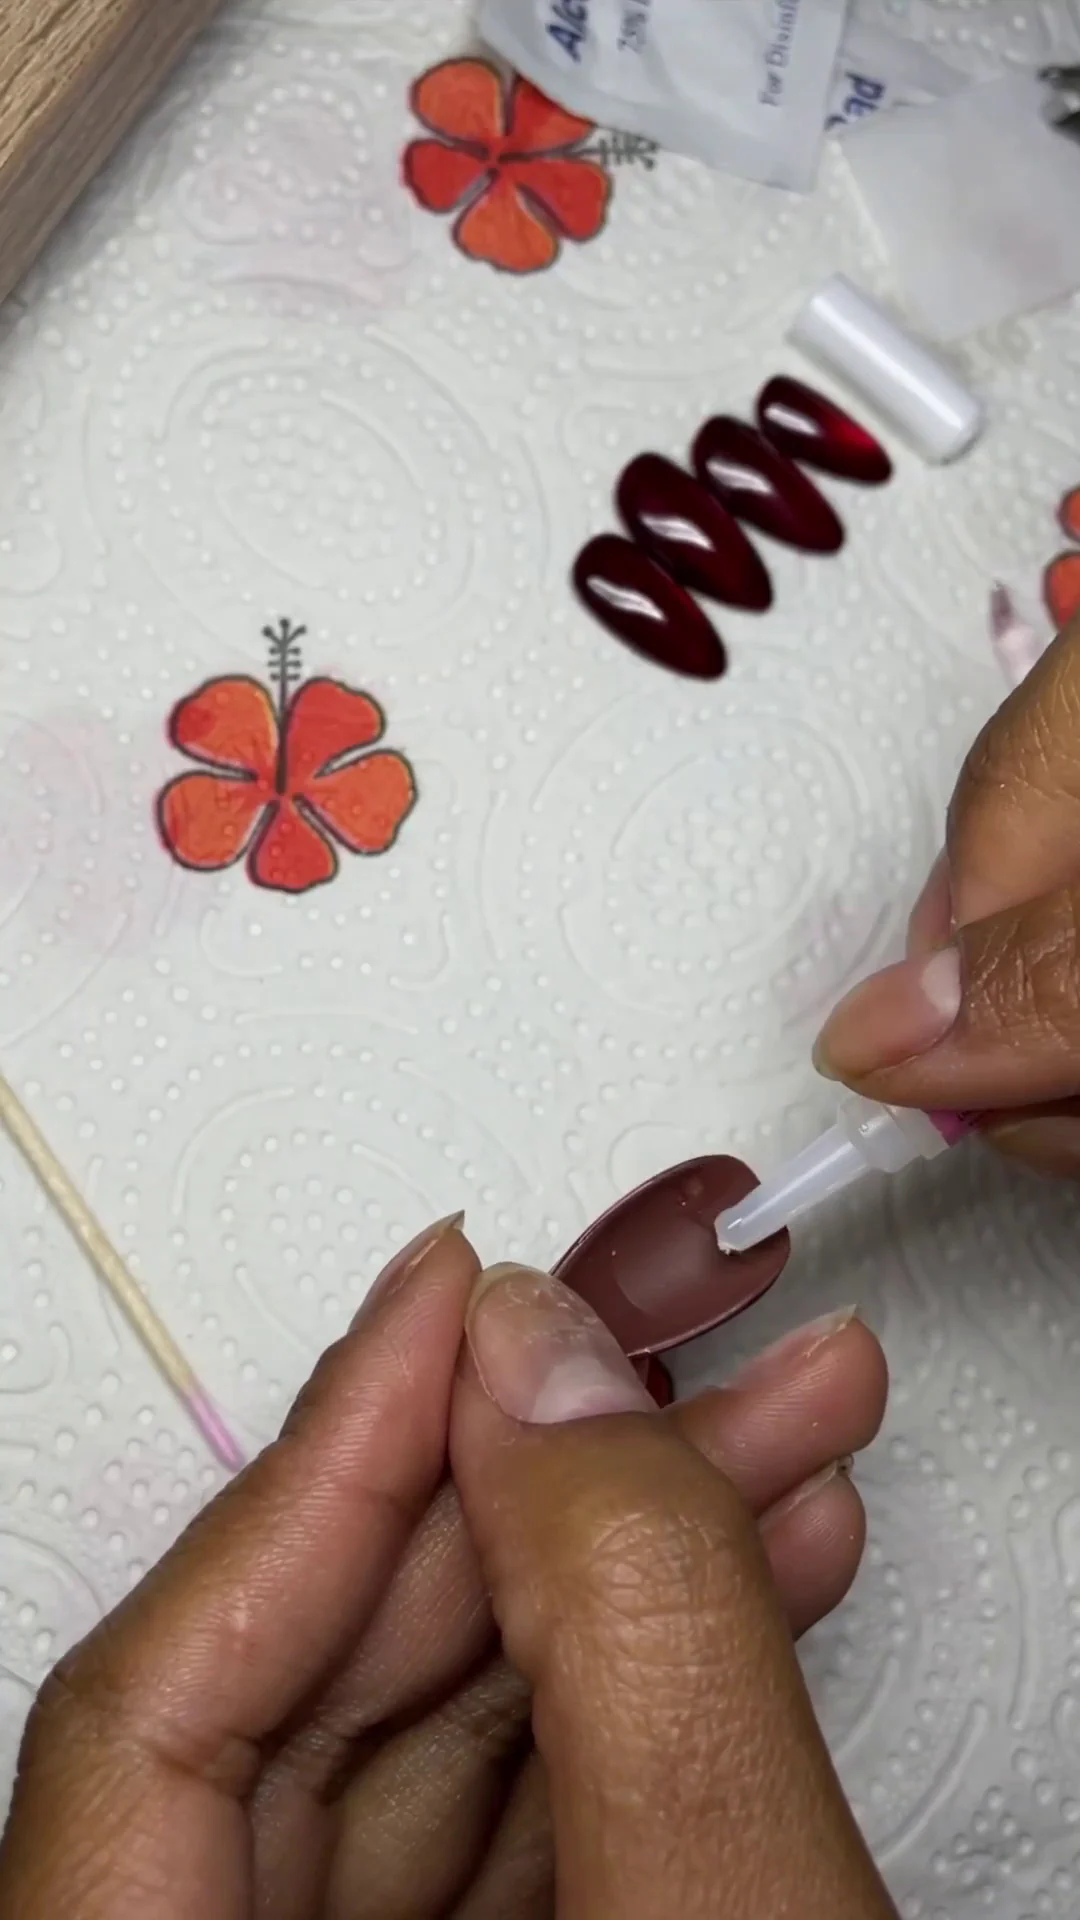
4 - With glue
Pick the right size, then apply a thin layer of glue to the tip.
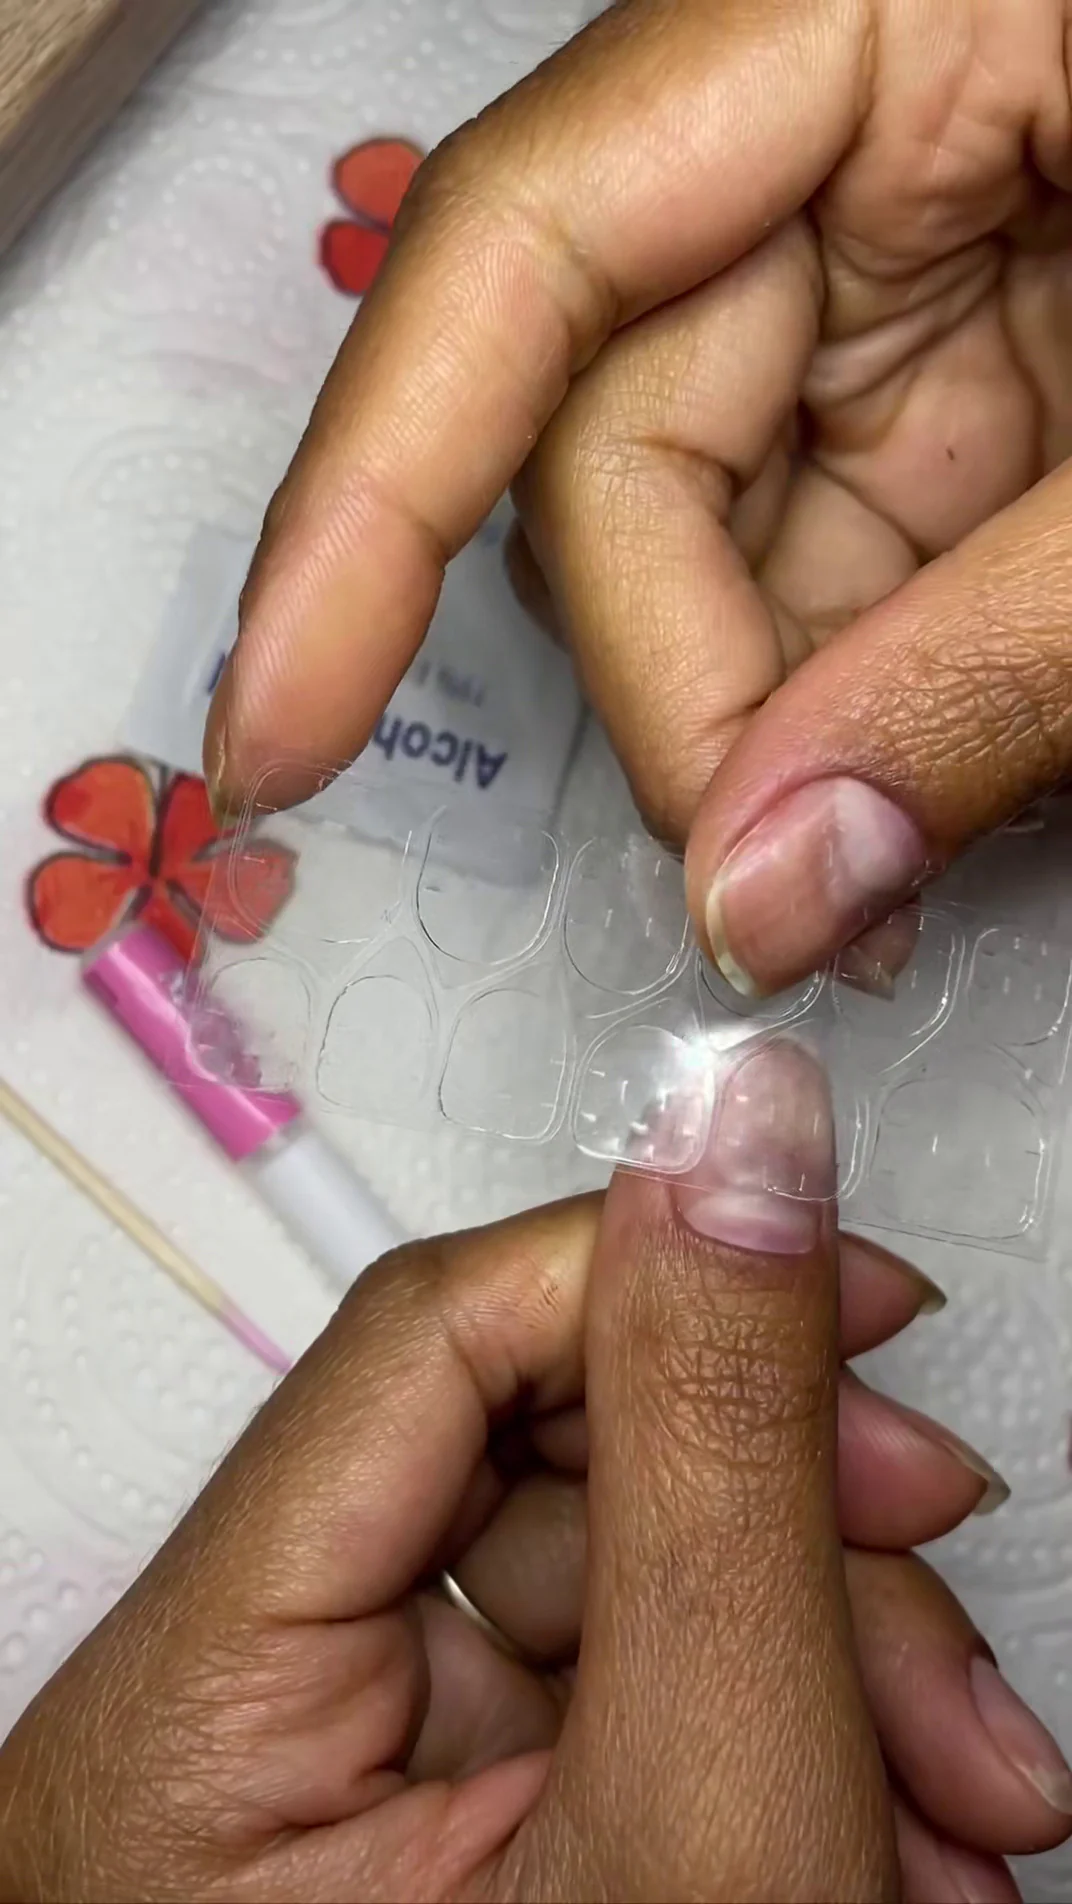
4 - With adhesive tab
Peel the backing off the adhesive tab and press it onto the nail before applying the tip.
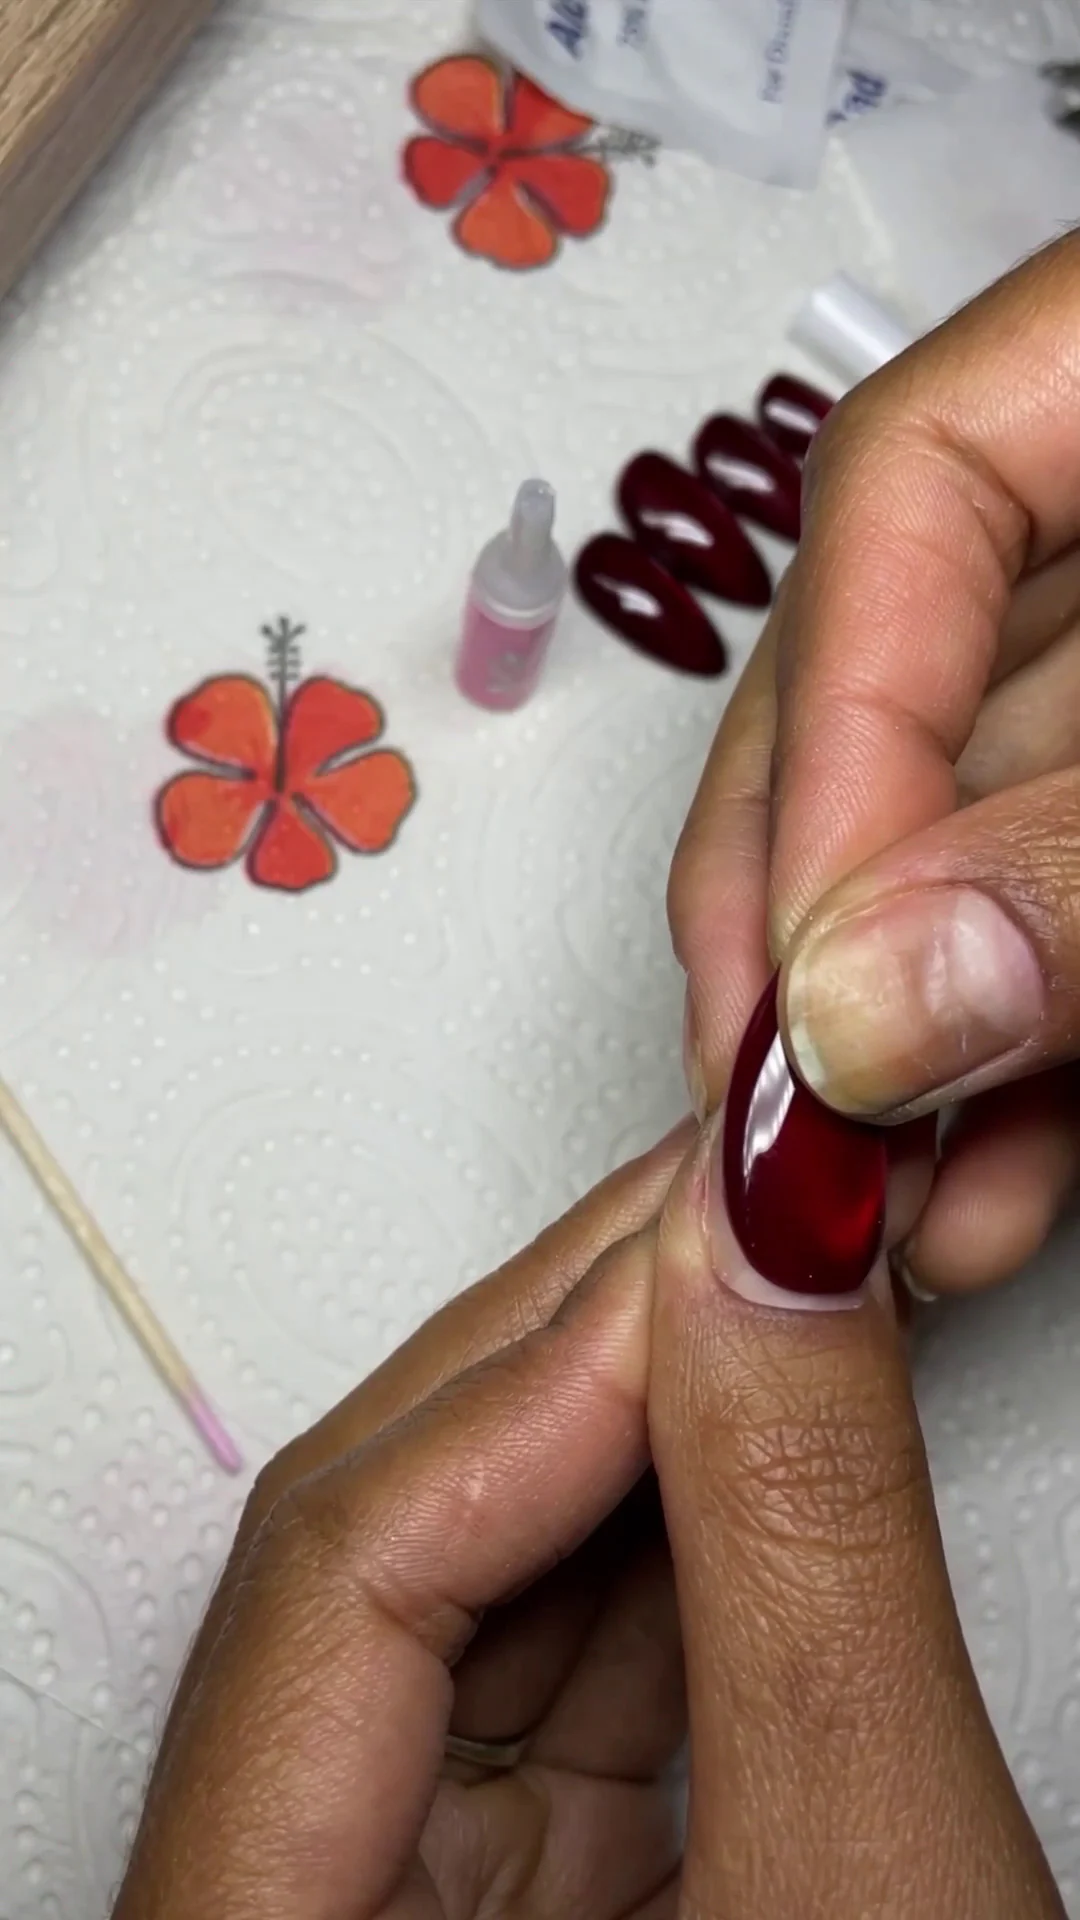
5 - Press
Position the tip starting from the cuticle and press firmly for 15-30 seconds.
Pam shows you in a video
The full application, from prep to the last tip, in a few minutes.
With glue
With adhesive tab
✦
Removing glued-on nails, gently
Removed with care, your press-ons can be reused several times.
Soak
Soak your fingers in warm soapy water for 10-15 minutes to soften the glue.
Lift gently
Gently lift each tip from the base with the flat side of the small stick, never force it.
Clean & store
Remove any glue residue, let them dry and store the tips in their box for next time.
Never pull on a tip that resists, soak again. Your natural nails and your press-ons will both stay intact.
✦
Removing tab-applied nails, gently
No soaking needed, gently peel each tip off starting from the edge, without forcing it.